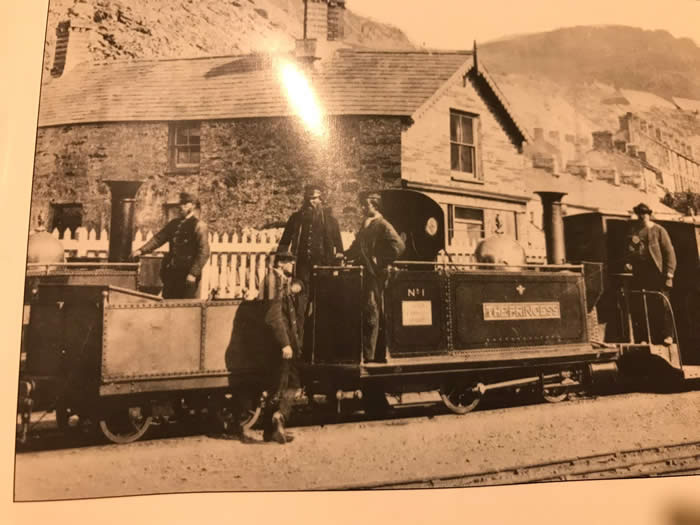
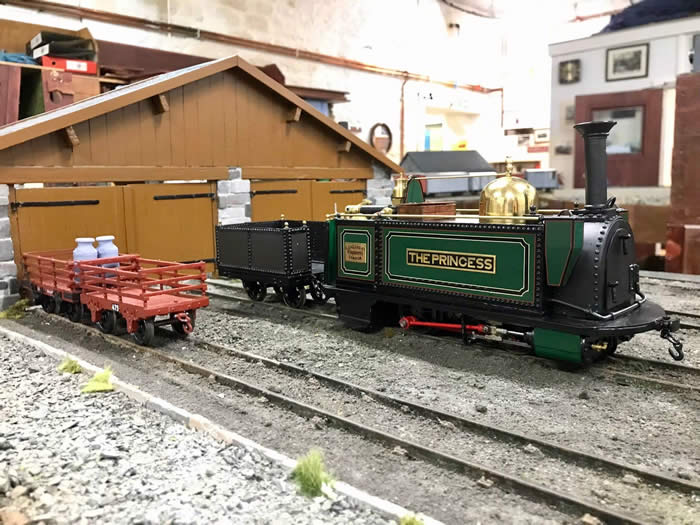
I have built two large Englands, Little Giant and Welsh Pony. Chris thought we should add FR No 1 " The Princess " with open cab and dome which was added soon after delivery in 1863. In the picture below the splendid dome was probably "re-made" in 1870 [ ref: Jones and Dennis ] and by this time the engine had a D-Shaped smoke box.
The Princess arrived from England's works in London without a dome. It was not a success because, lacking a dome for the regulator it primed ejecting water out of the chimney. Nor could they raise much steam pressure. A dome was fitted at Boston lodge under the supervision of William Hollinrake, one of England's employees, an engineer who stayed on to serve the FR for many years as Locomotive Superintendent.
Tenders at that time were made from wooden wagons by the Boston Lodge fitters.
In the version above you can clearly see that a "plinth" has been added under the side tanks and a balance pipe between the tanks in front of the smokebox. The plinth was an attempt to provide the small loco with greater weight. The rear backsheets were left unmodified so are lower than the side tanks.
Later side tanks were supplemented with weights to form a dummy saddle tank [1882] , and finally the locos were fitted with water-carrying saddle tanks.
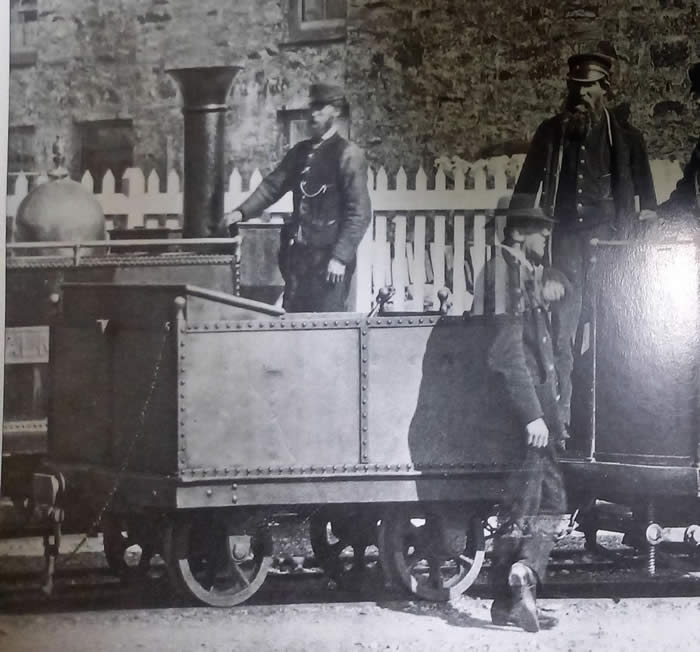
The footplate was flat in 1863 and the loco had marine-type round rods.
Note also the curved front running board extended down the side of the engine. The stoker has one foot placed on it. These, supposedly, were designed to push open gates and to allow the stoker to access the front of the engine in order to sand the rails.
A later picture of The Princess but with the original tender with large toolbox in the rear of the tender.
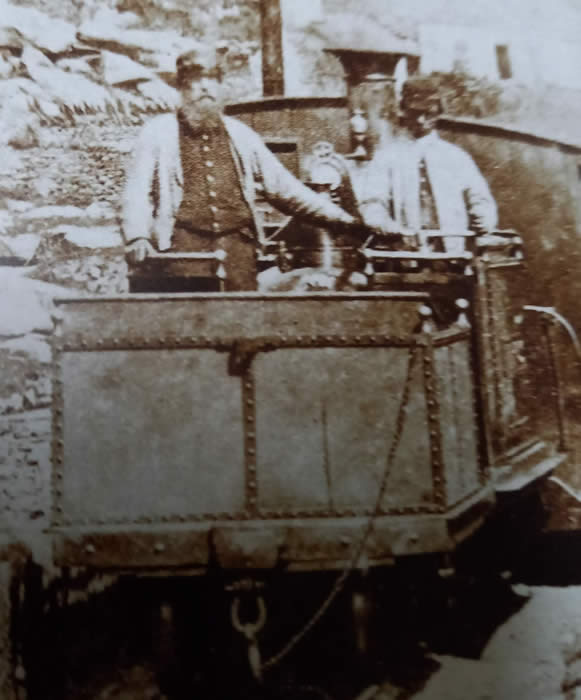
[ Mountaineer in the background ] The first engines were delivered without tenders [ or buffers! ]. Tenders were made from modified slate wagons by the Boston Lodge fitters.
The tender appears in photographs to be painted in a lighter colour than the engine. We have decided from the available evidence that this was probably grey with black edging.
A rear view of the tender showing the chain by which the stoker uncoupled the slate wagons without having to dismount.
References:
Details, photos and drawings came from the book
" Little Giants" by Chris Jones and Peter Dennis,
and NG&IRM Review 80 " Festiniog Railway England Locomotives - as built 1863" drawn by Stuart Baker.
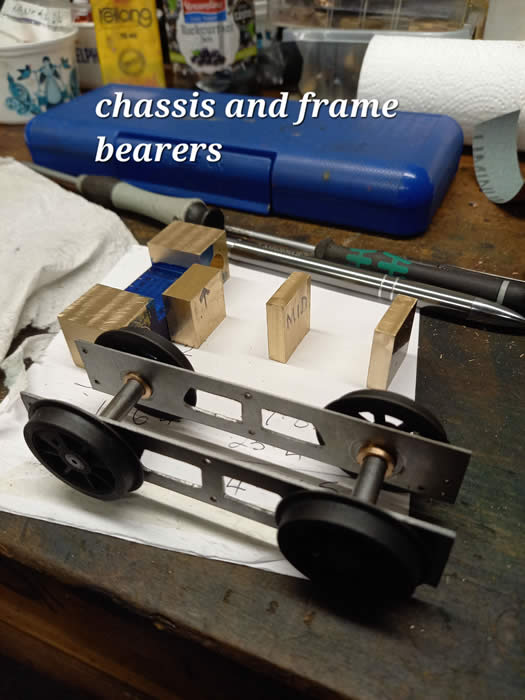
The chassis incorporated Roundhouse small England wheels and squared axles.
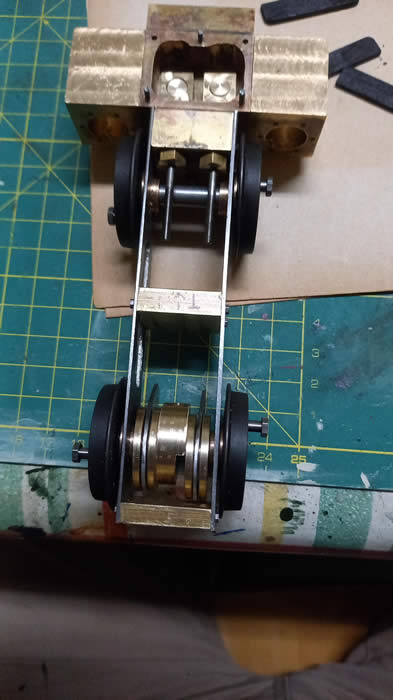
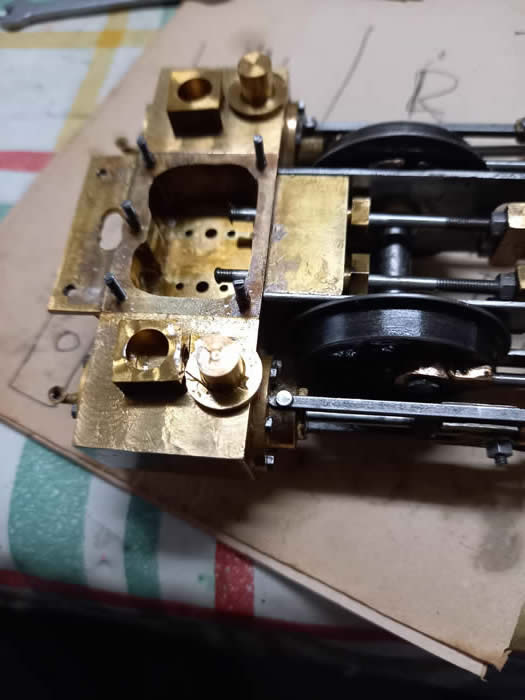
Chassis with cylinder block steam chest, bearers and eccentrics
Chassis connected to cylinder block with gas tank and curved footplate in place
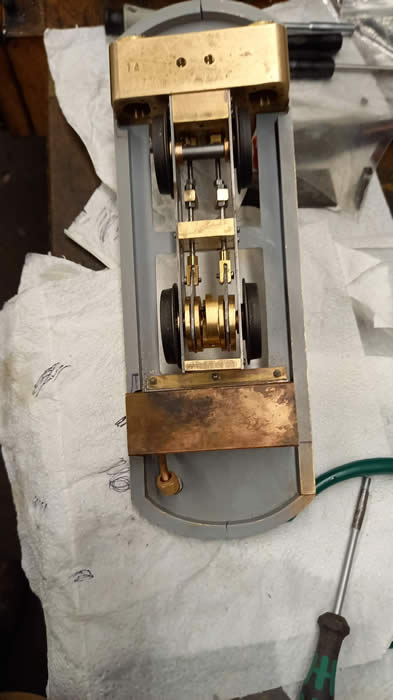
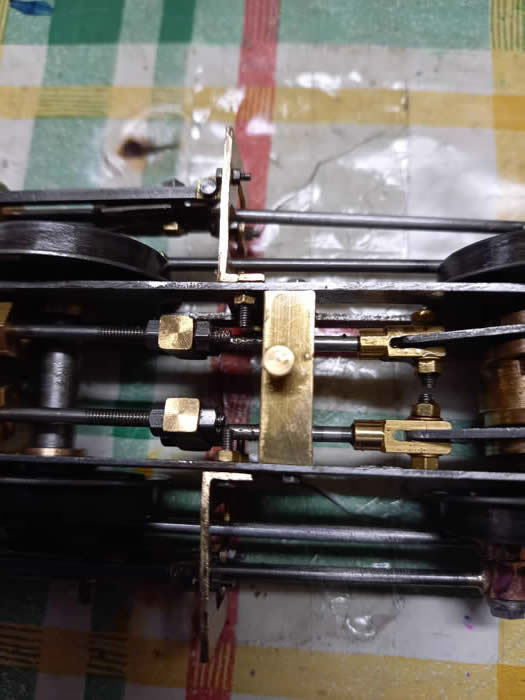
Eccentric rods now connected to valves
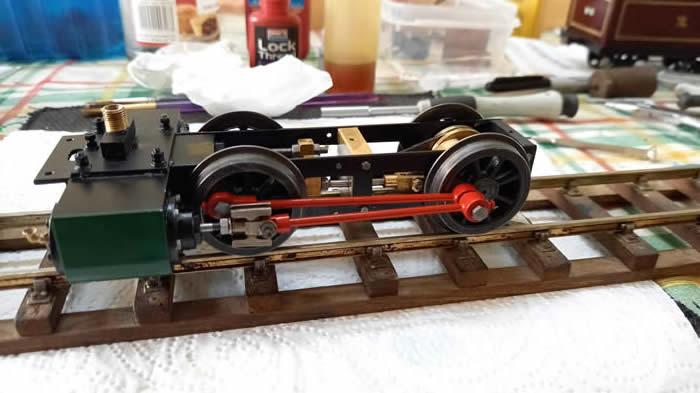
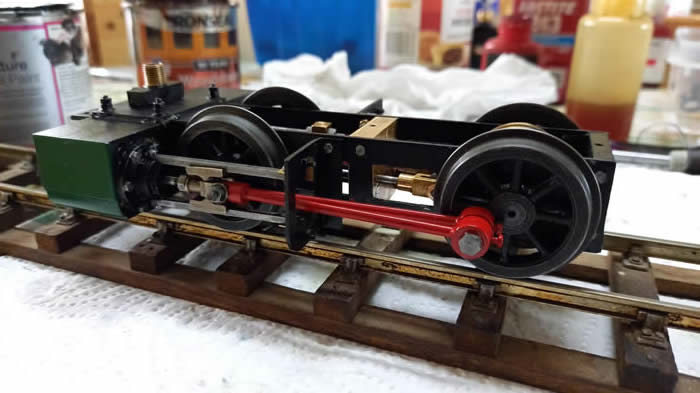
Chassis now painted with round rods and Slater's crossheads
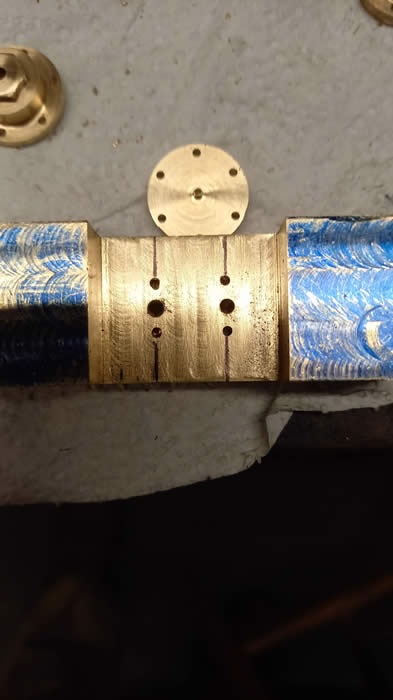
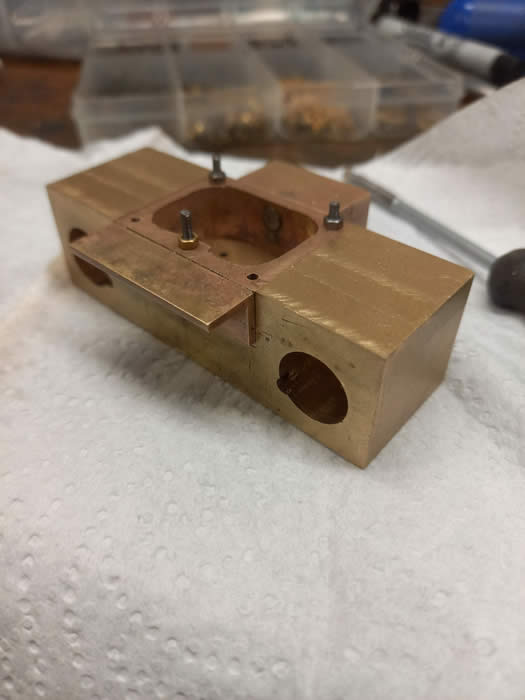
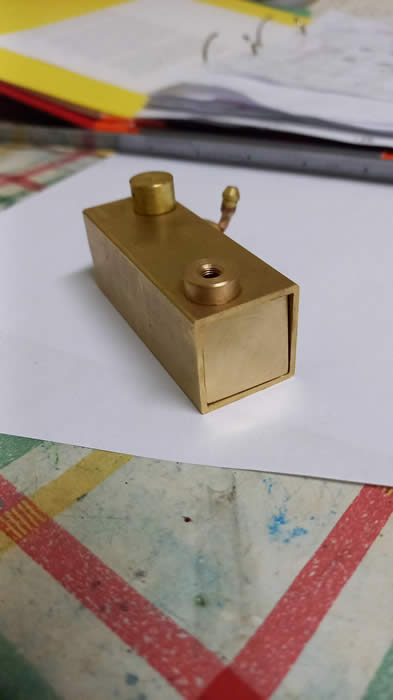
The cylinder block incorporates a cut out for the steam chest
The steam chest has a rear block onto which the chassis bolts and a bracket on the front [ both silver soldered ] onto which the footplate attaches.
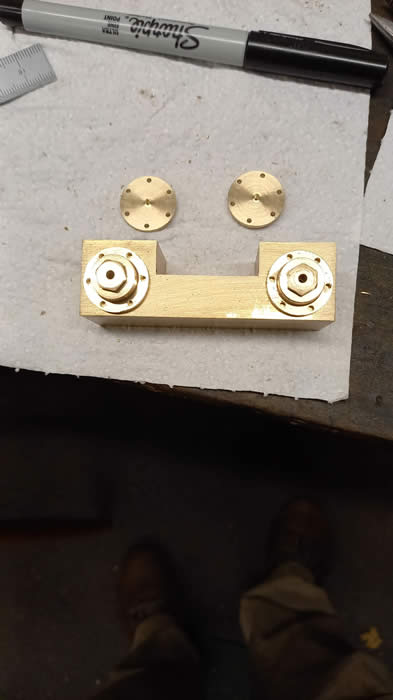
End caps
Top hat valves and square carriers. The hole in the front bracket is for the exhausts, which go directly into the smokebox from underneath the cylinder block.
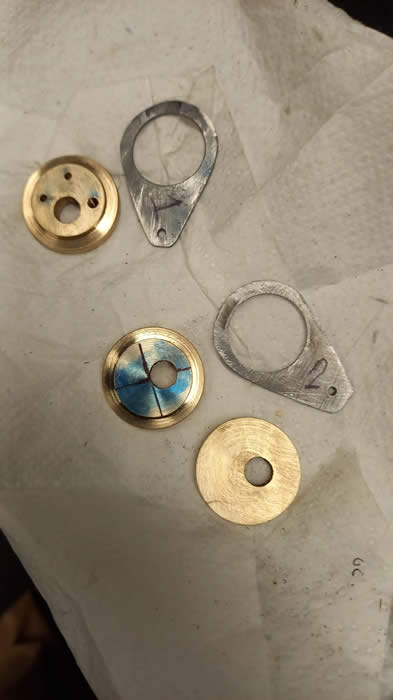
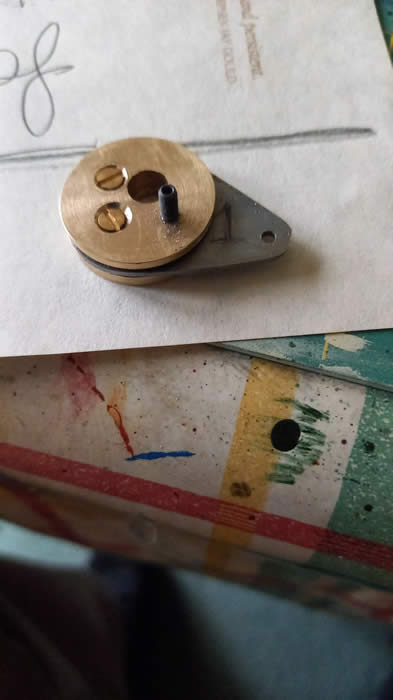
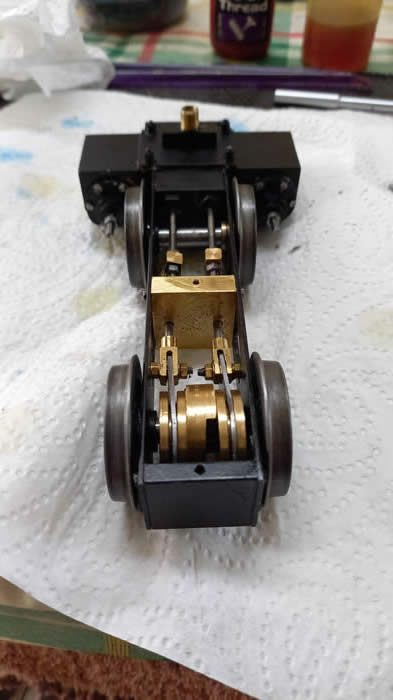
The eccentric parts, to a Mike Lax design, form
a "sandwhich"
The eccentric rods pass through the centre bearer and then " step" up to the valve rods. This is a very effective slip eccentric with a single stop collar.
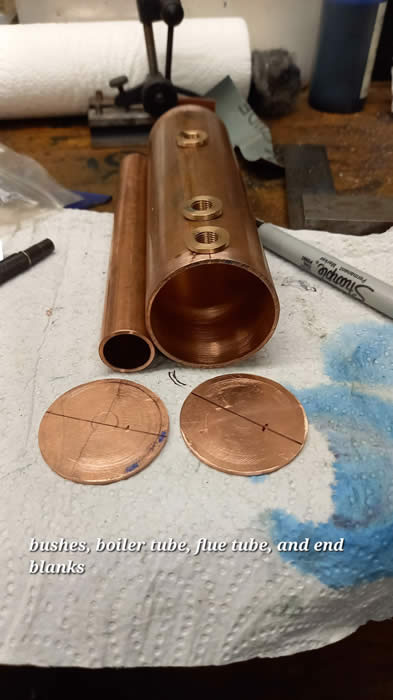
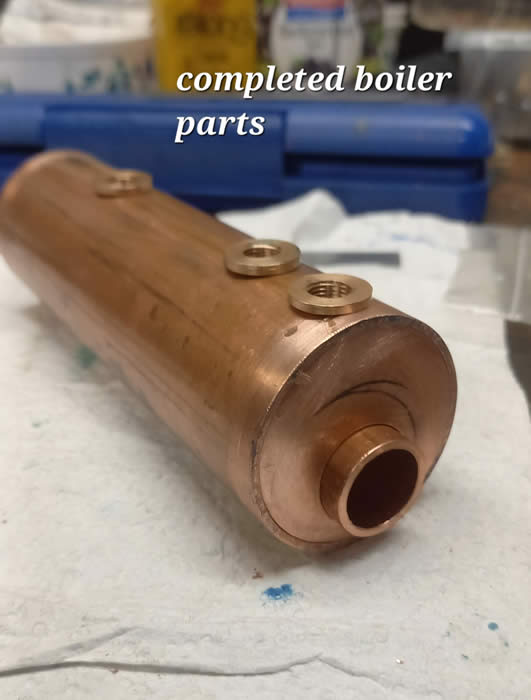
13/4" boiler tube soldered up by Chris Cooper: Tested by Rodger Schofield
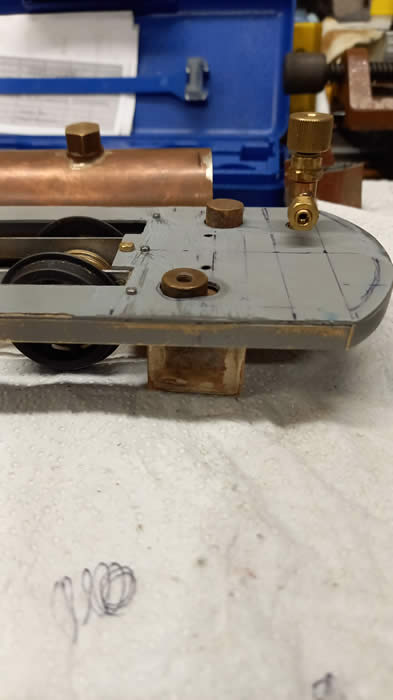
Gas tank fits under the footplate.
Designed by Chris Cooper and very skilfully soldered by Trev Oughton: a really delicate job!
Tested by Rodger Schofield.
Gas tank and Roundhouse gas valve in position.
The gas valve has been extended to represent the loco handbrake.
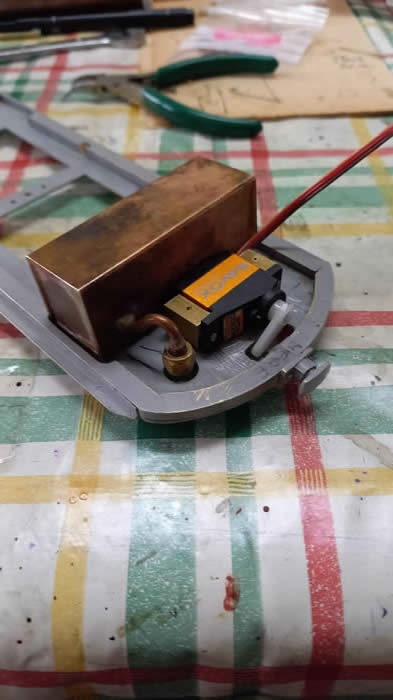
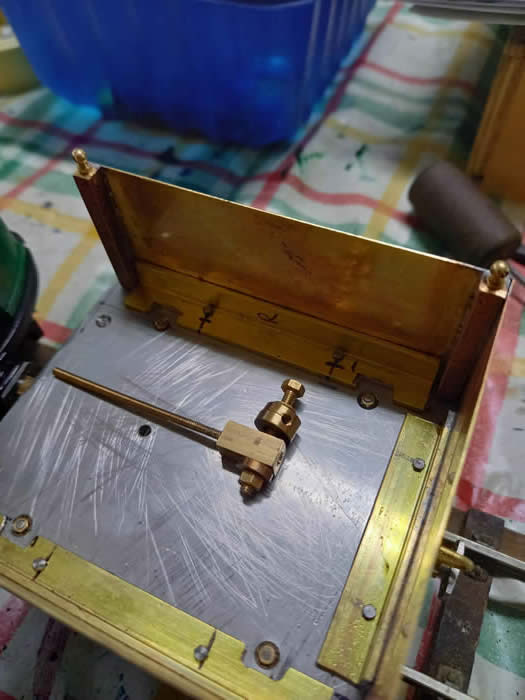
There was just room to fit a Savox metal geared servo
for the regulator
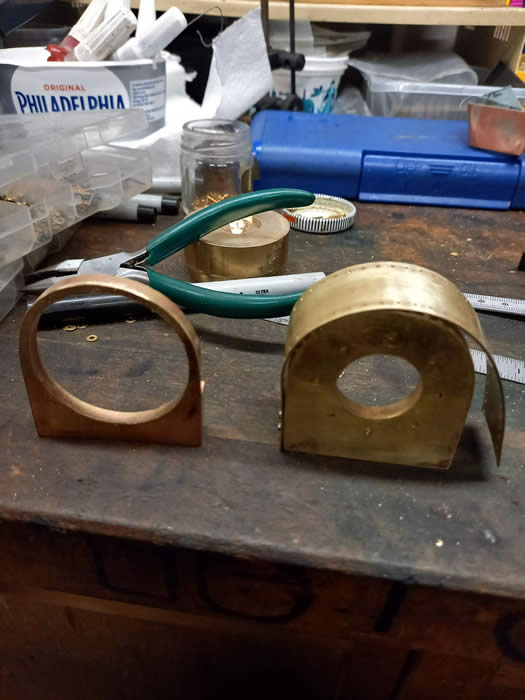
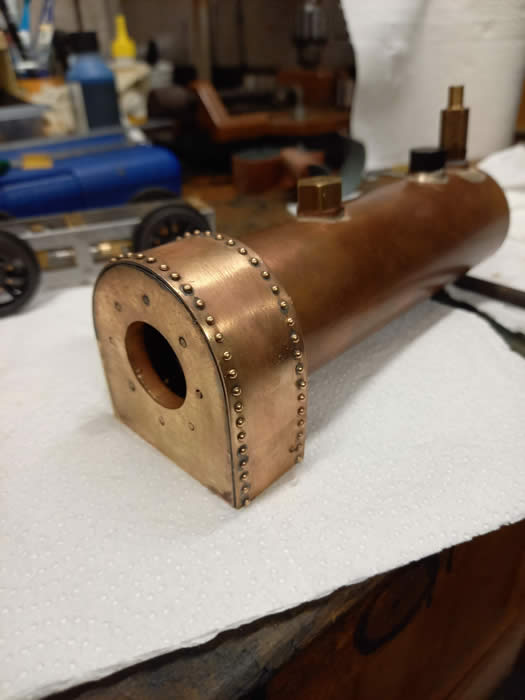
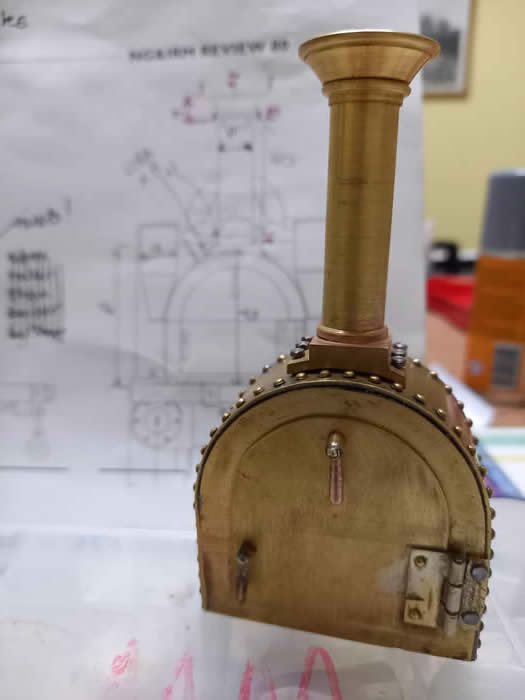
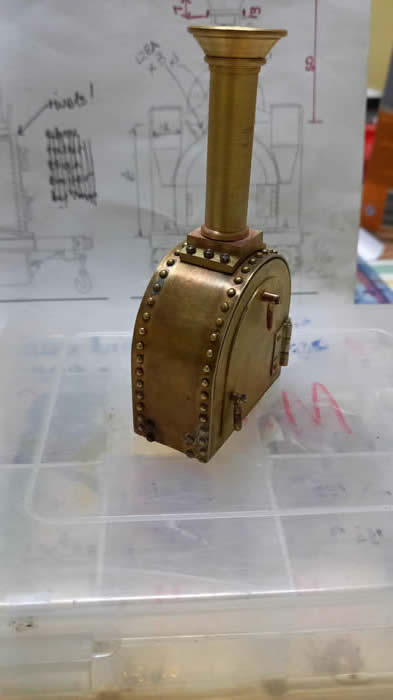
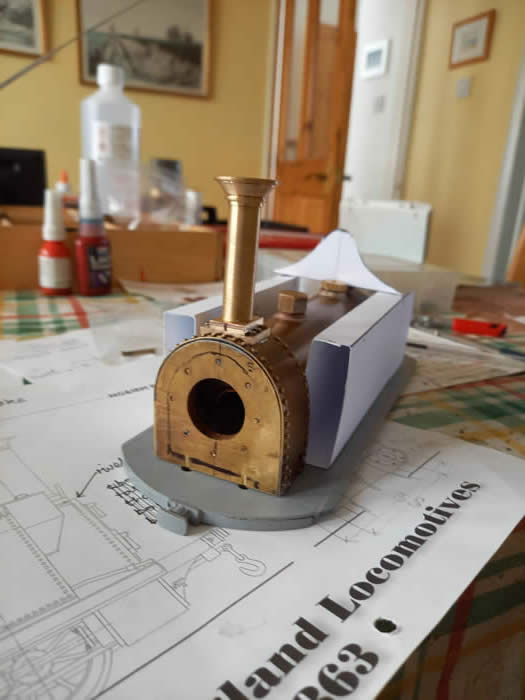
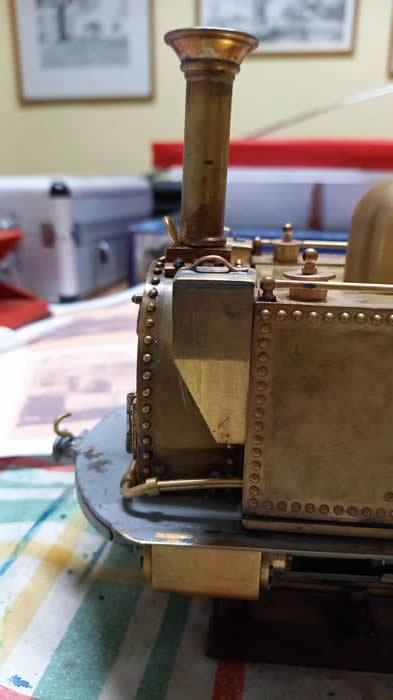
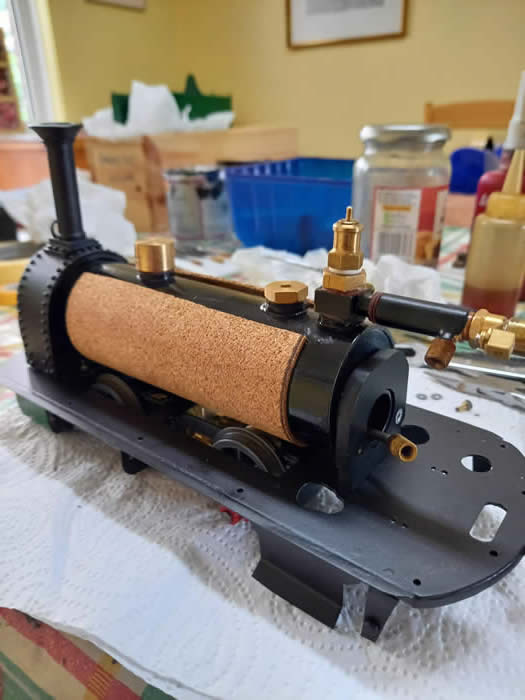
Smoke box parts were rivetted together
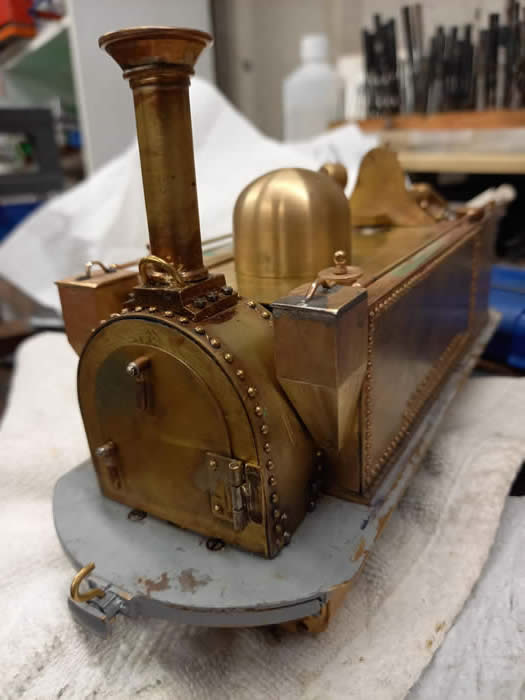
The chimney was turned in one piece and soldered to the plinth then bolted with 12ba steel bolts to the smokebox
The door opens. Small handrail on the front of the plinth for the stoker to hang onto whilst sanding...hope he had good gloves!
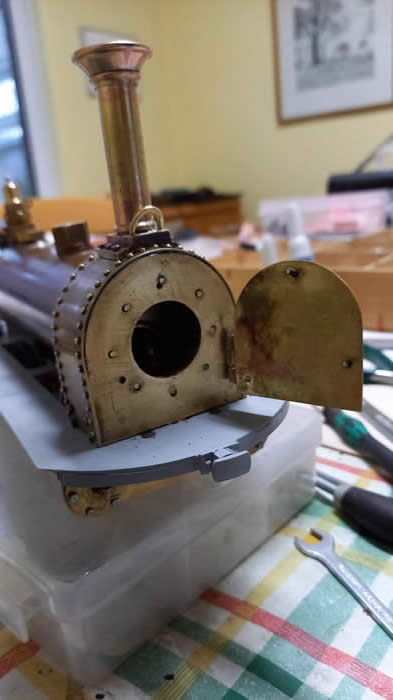
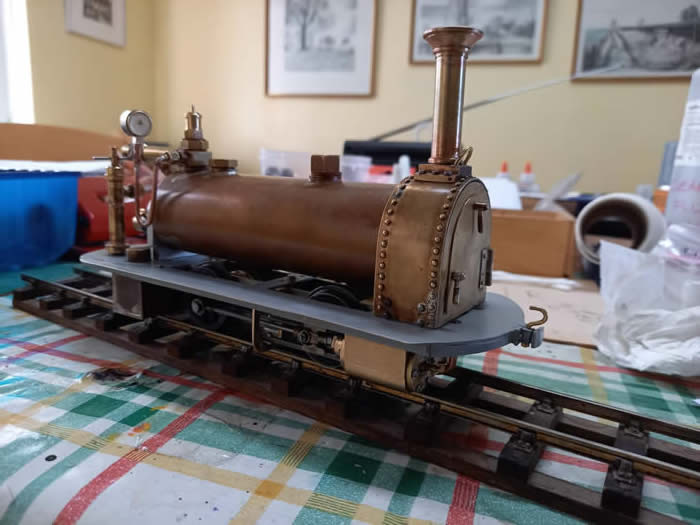
The footplate is scale length but the smoke box is taller than scale because of the boiler which was fitted as low as possible [ without hitting the wheels ]. This is a very small engine!
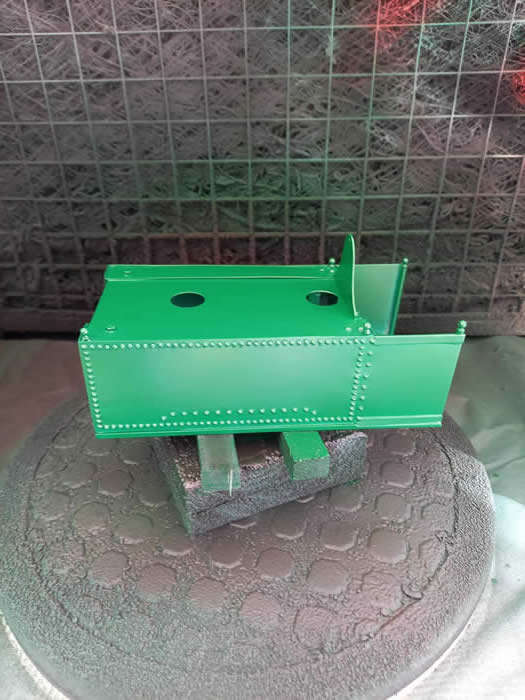
The height of the sidetanks are critical to the proportions of the loco. Too tall and it would look top heavy. Cardboard Aided Design helped decide!
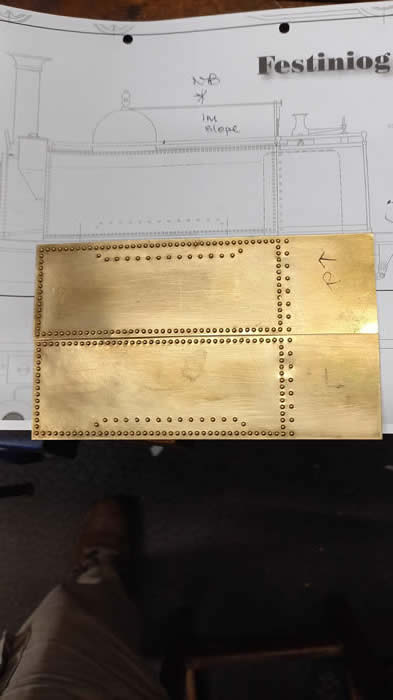
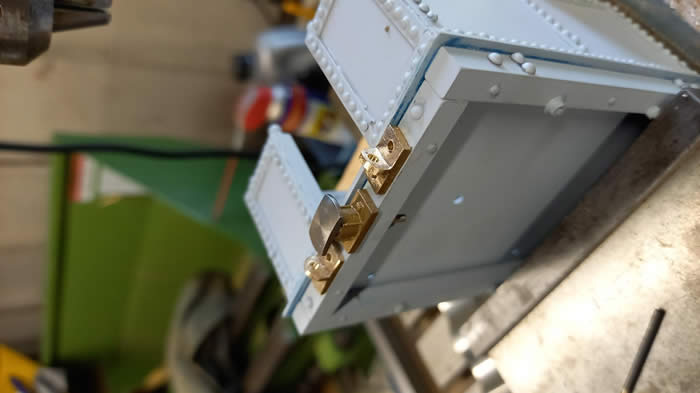
Tank sides were rivetted up with 3/64 brass rivets
Tanks with fronts and angle attached top and bottom.
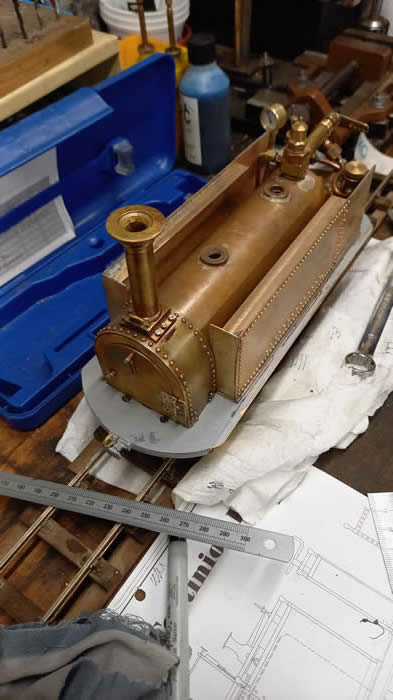
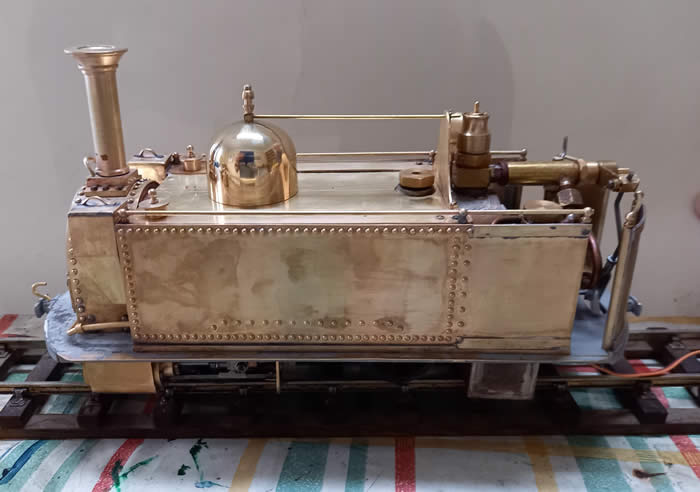
The top cover was then able to be fitted,
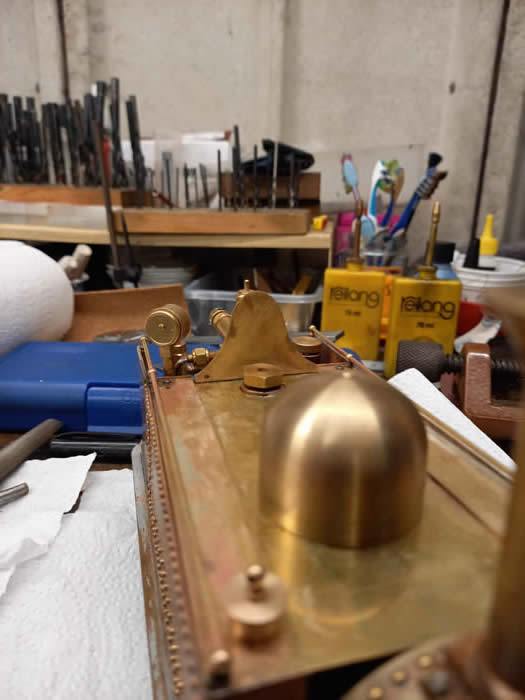
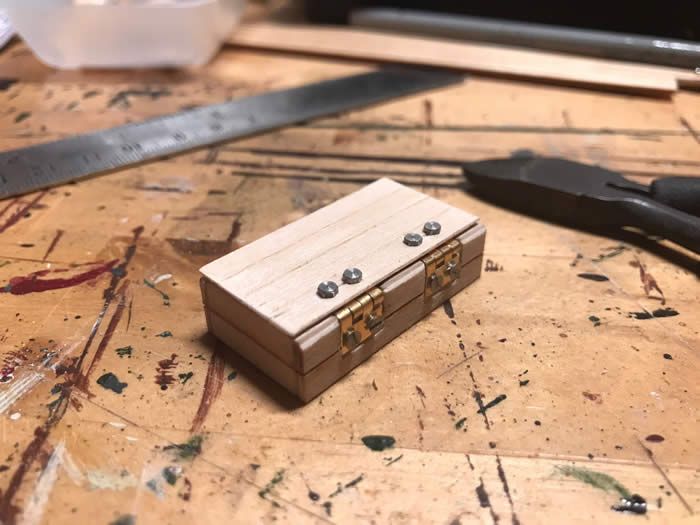
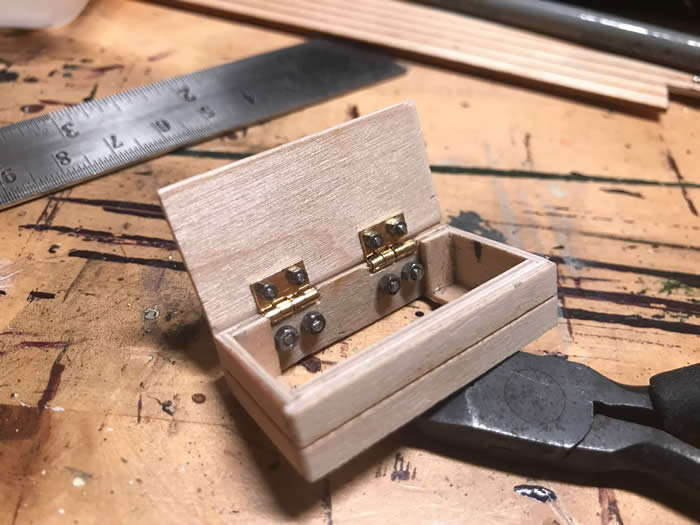
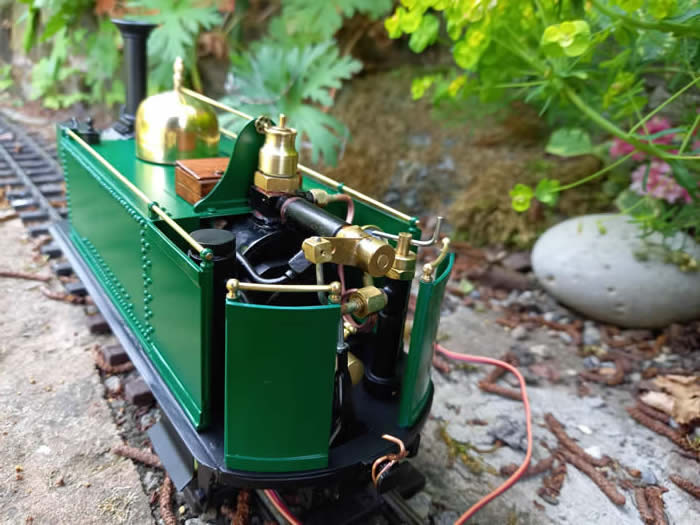
along with the tank fillers, handrails [ supported by very small knobs from Chuffed 2 Bits ] and dome made on the lathe by lots of filing. The dome fits on a boiler stub. The boiler filler [ Goodall valve ] can be seen at the rear. A wooden tool box fits over the filler.
Made by Chris
Sandpots were milled from solid brass and tops added
There is a balance pipe that connects the two tanks and passes underneath the smoke box door.
The buffers were from Slater's but much shortened to scale length.
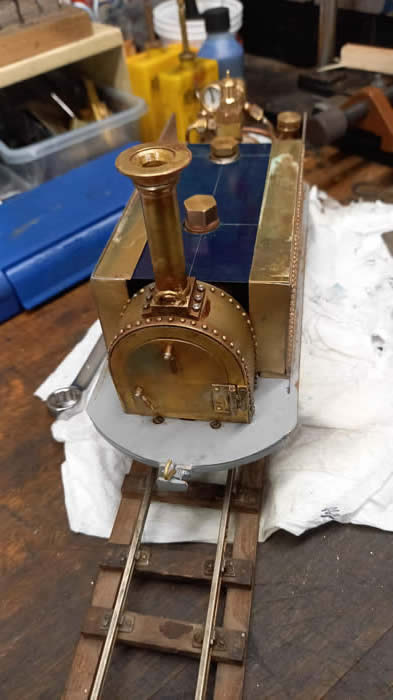
The rear curved cab backs have been fitted along with regulator and steam tee which houses a very small safety valve acquired from Kennions.
Shroud for safety valve and knob for whistle from a very old DJB supply.
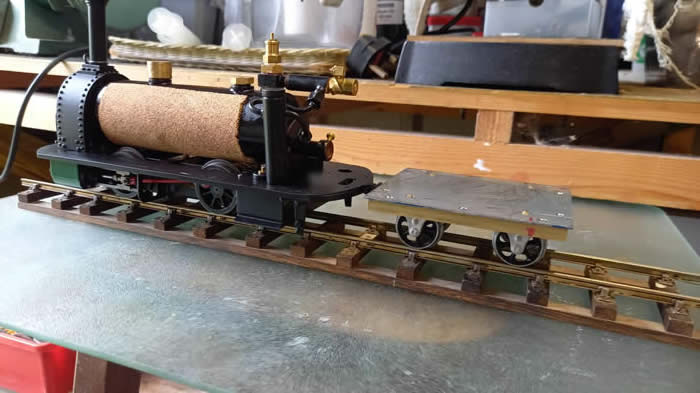
The tender base was made from steel with 1/8 brass bars and slaters wagon wheels and axle boxes
I made a pivot connector between the loco and the tender, fitted Slaters buffers modified to scale length and the fittings for the loco/tender safety chains.
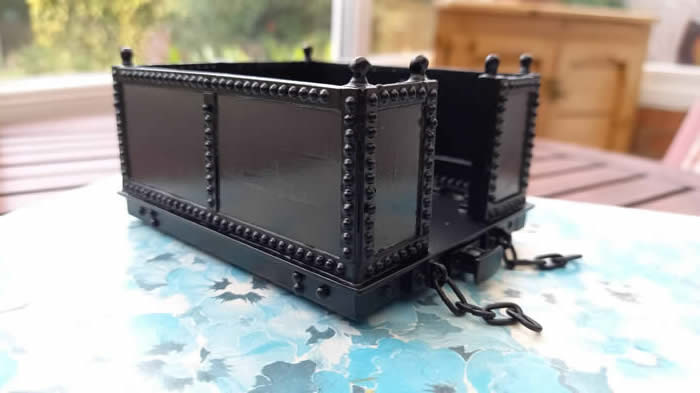
The tender body was drilled and rivetted 3/64 brass; 450 of them.....all glued in with shaft quality loctite. Took a while. Square type lamp bracket manufactured and soldered on and more C2B handrail knobs.
Tender body painted. handrail knobs masked with Copydex.
Painting
Chassis , smokebox and cylinders
I used matt black synthetic enamel from One Stop Aerosols
Note dummy ash pan and brake detailing
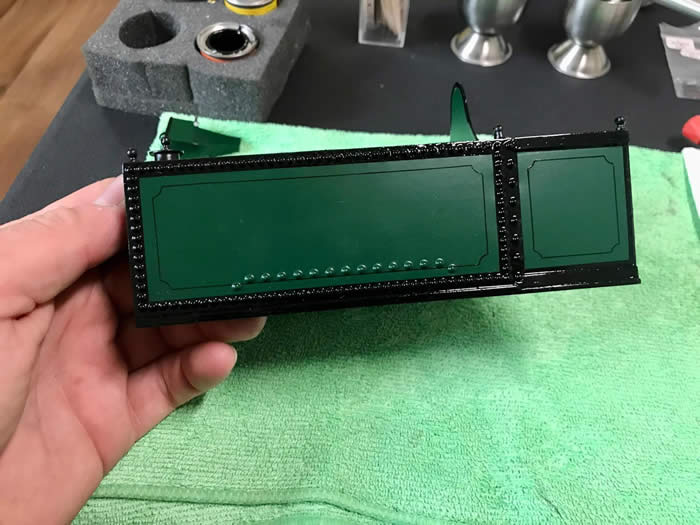
Mid Brunswick Green for the body work. The colour goes darker as coats are applied
Cylinders also painted green
Rear view of the loco . The pressure gauge has now been concealed behind the right cab side sheet.
Black edging applied by Chris to the tanks.
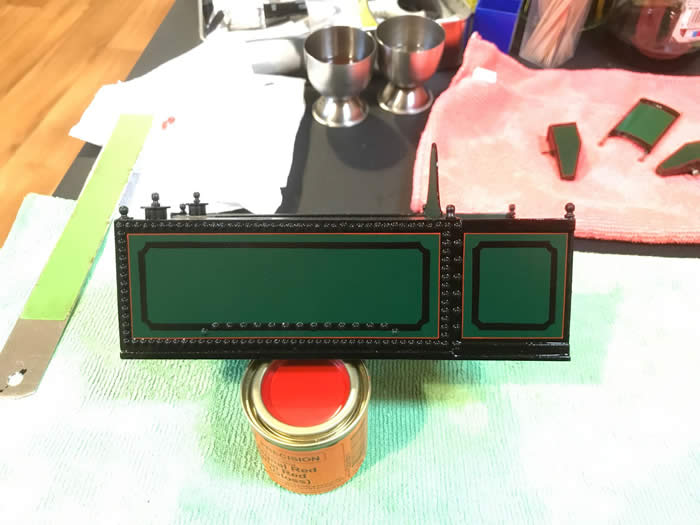
The delicate start of the lining process
Two thin lines applied with the pen then filled in by hand.
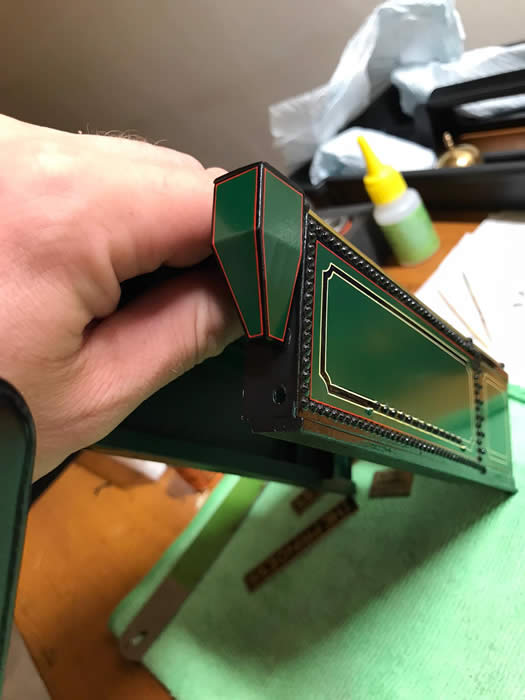
Then red lines
Sandpots and back sheets
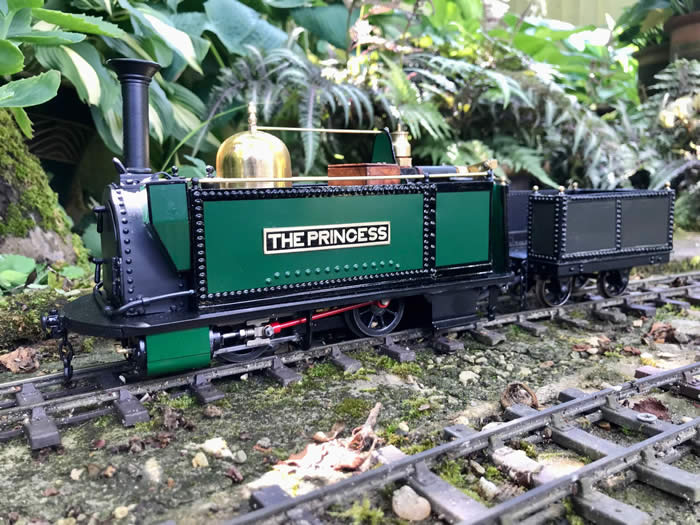
Lining completed
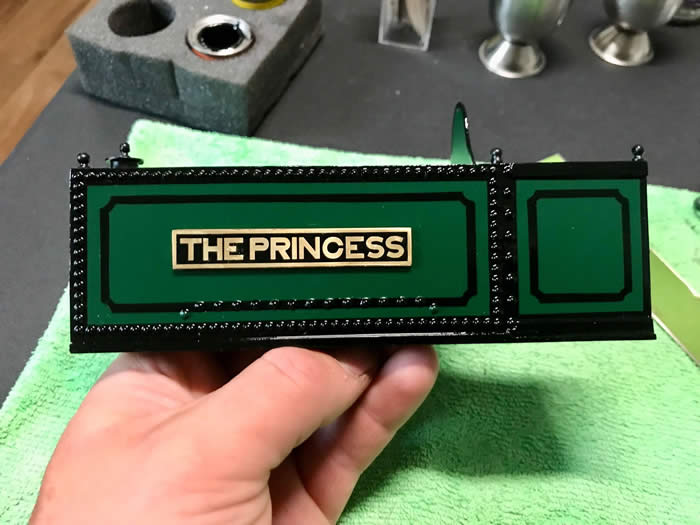
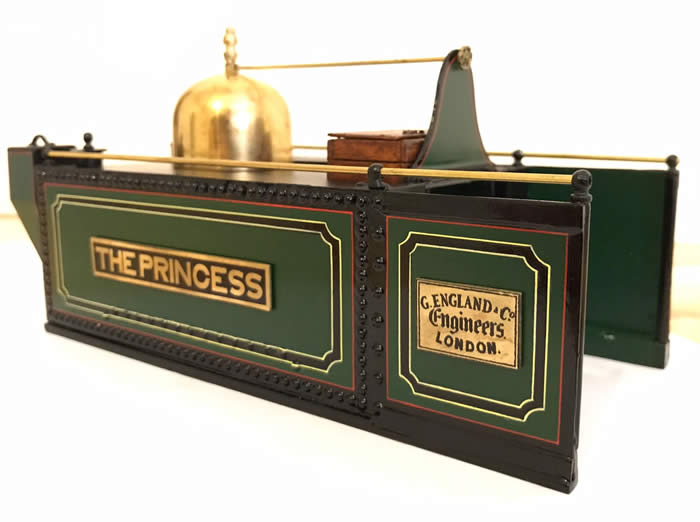
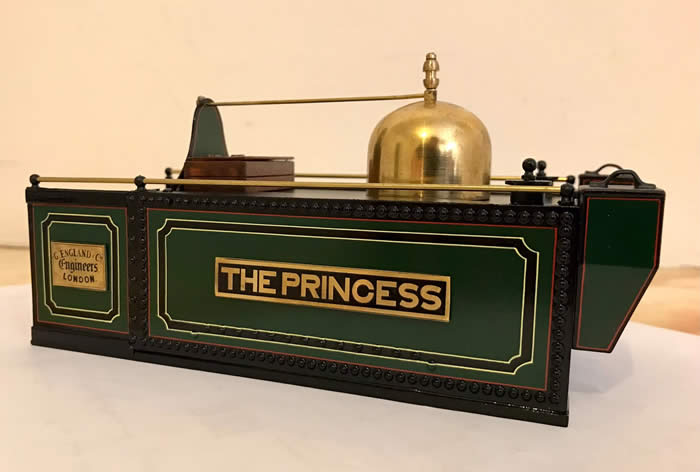
Gerv Wright made the plates: he writes:
"The artwork was created on a programme called Inkscape. The nameplates were traced from a photo of the original. The works plates were partly done this way, but the gothic text was created using the closest font I could find before converting it to an editable format. This enabled the individual letters to be manipulated to the correct shape.
The resulting artworks were printed onto Press-n-Peel PCB transfer film and then transferred to brass strips using a laminator before etching in Ferric Chloride."
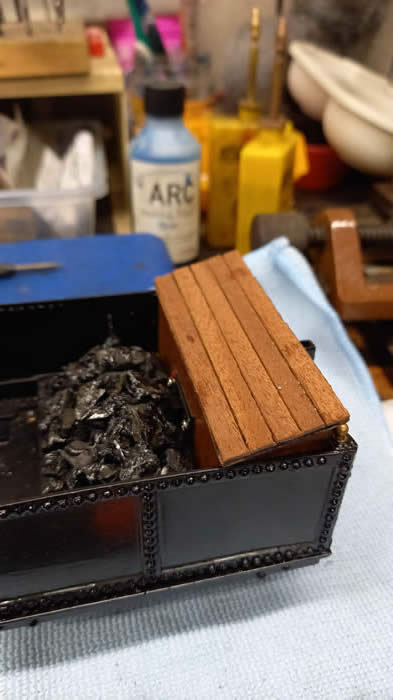
The coal load conceals the battery and the tool box houses the switch and receiver.
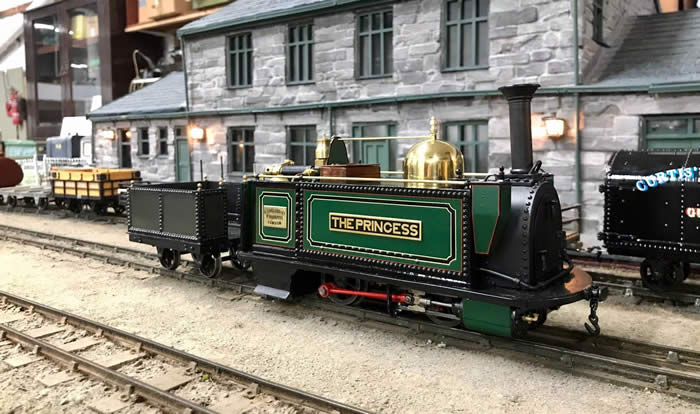
Chris took some photos on a visit to Huddersfield Railway Modellers
September 2023